|
Jeffrey Herman disclaims any responsibility or liability for damages or injuries as a result of advice contained on this Web site.
|
||||
|
Jeffrey Herman disclaims any responsibility or liability for damages or injuries as a result of advice contained on this Web site.
|
||||
|
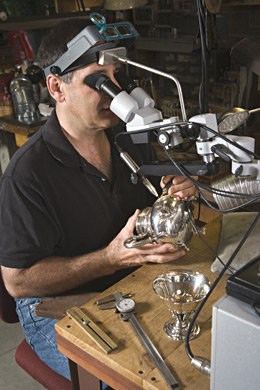
As any silversmith knows, silver solder is the ideal material to use when joining sterling pieces by the traditional method of brazing. Sometimes I will receive an object which has been lead-soldered in the area in need of repair (or re-repair). Sometimes the joined area is not visually accessible, and I don't know if lead has been used. In either case, I cannot use silver solder because the high temperature required will melt any lead in the joint and allow it to form its own alloy with the silver. Not pretty! And, using a low temperature tin/silver solder won't give me a sound joint or good silver color. For this reason, I had been exploring newer technologies for joining metals. I tested laser welders from a few manufacturers, but found that their compartments are too small for working on holloware. In addition, they are expensive to buy and notoriously expensive to repair, and the down-time for repairs can be substantial. I also tested the Mini Pulse III (an arc welder) from Aelectronic Bonding, which had too few welding power options and didn't allow me to get into tight spaces. I tested a friend's Lampert PUK2 pulse arc welder for a few months, and refined my technique to the point where I felt confident to purchase Lampert's PUK3s Professional, which was developed to weld silver more successfully. I was so impressed that I soon purchased the PUK3s Professional Plus which had a broader power range, additional impulse settings, and five programmable settings.
Since I use the PUK on a daily basis, it was only natural to upgrade again to Lampert's latest model: the PUK04, which has the following advances over the previous models I've owned. Features in bold were the most important to me:
• Touch-screen programming.
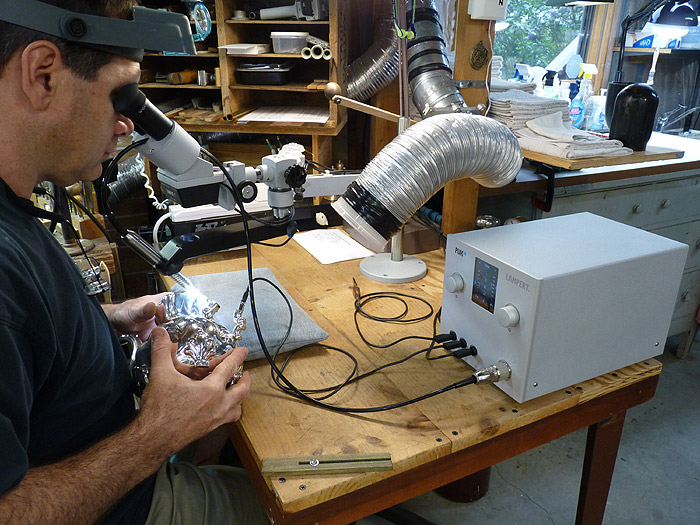
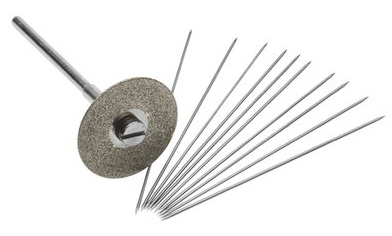
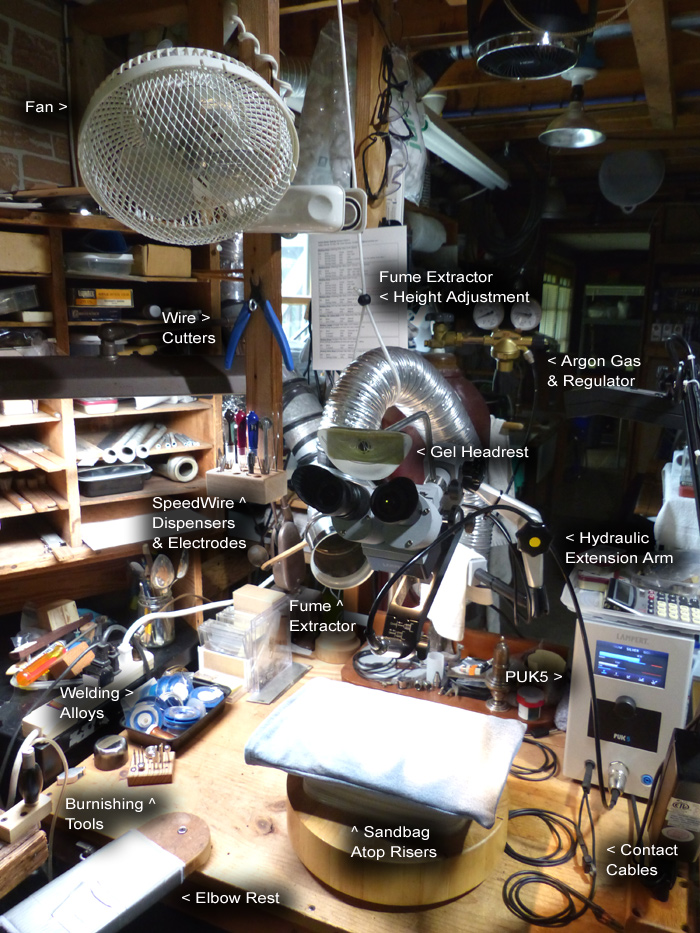
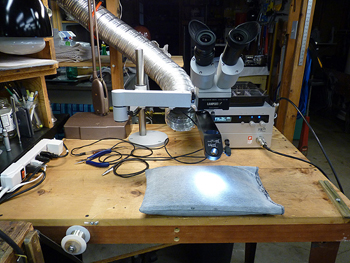
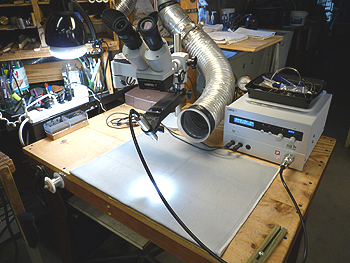
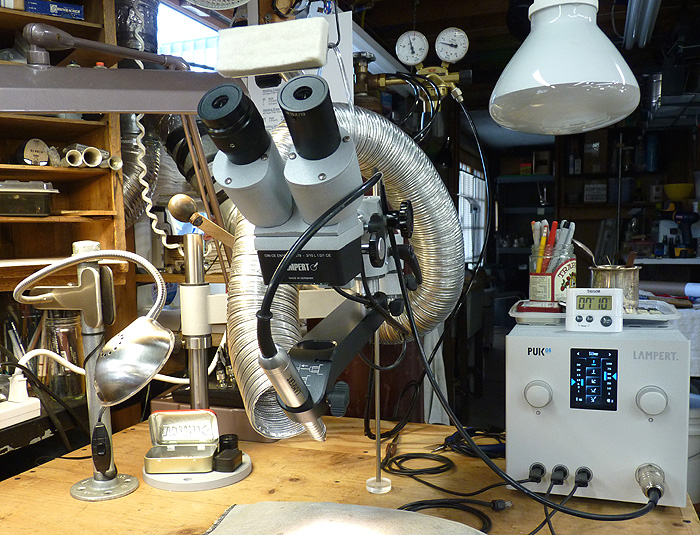
Above: As with every PUK I've owned, this latest model also sits to the right of my main bench where I can pivot left to get access to my abrasive and burnishing tools. I set up ventilating behind the welding area to capture all metal fumes. Venting or using the optional smoke absorber is a necessity, as with all other forms of welding which produce metal fumes. The electrodes The 10 electrodes come pre-sharpened on both ends. I wait until I have used all 10 electrodes (20 tips) before sharpening them at the same time with the supplied mandrelled diamond disk. This saves time. I mount the disk in my Foredom handpiece and secure it to the bench over the dust collecting vent. The recommended tip angle is 15%. Electrode replacement in the PUK handpiece can be accomplished within five seconds. Advice on welding larger objects Whether it be pulse arc or laser, welding isn't meant to substitute for brazing large objects. Welding long seams (e.g., on coffeepots or candlesticks) is more time-consuming than simply using the welder to tack a seam in preparation for brazing. If attaching parts to large bearing surfaces (e.g., a large finial to a coffeepot cover), it's best to tack the part in place, then use the capillary action of torch-brazing to fill the void. Always consider the time it will take to weld or braze and the subsequent clean-up.
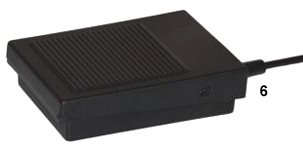
The handpiece can be removed in three seconds for welding freehand.
Lampert pulse arc welder highlights
Uses the same alloy as the piece being created or repaired (no color
issues as with solder);
Lampert Workshop Papers
(Subcribe to their workshop series here.)
Lampert Workshop Videos: http://www.youtube.com/user/LampertWelding/ Unit cost
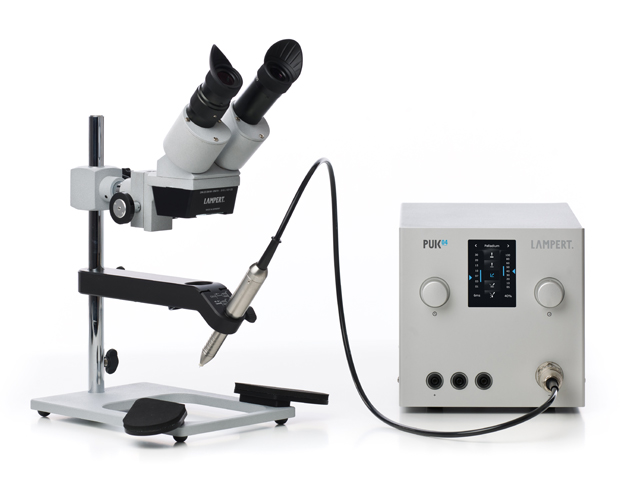
The basic cost for the PUK04 is $5,295. It includes:
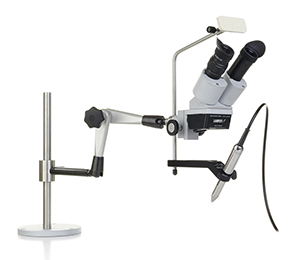
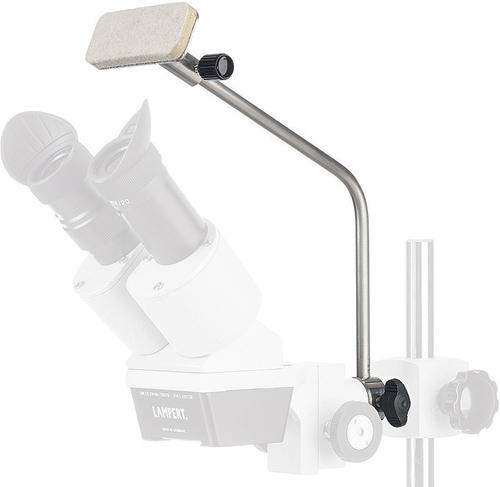
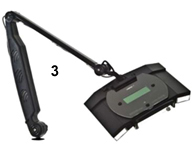
• PUK unit and microscope; WARNING! Shaded safety glasses and goggles made for oxy-acetylene brazing and welding are NOT intended for arc welding. The flash that's produced when arc welding is much more intense and requires the auto-darkening function found on PUK pulse arc welding microscopes and magnifiers. Optional accessories I added: This updated articulating arm ($575) allows me to work on larger objects underneath the microscope. It swivels 360 degrees and secures with the twist of only one knob.
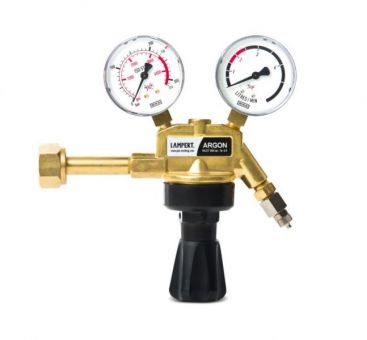
Precision regulator ($250). * This is now supplied with each welder and included in the final price.
When I was using the PUK 2, I tried a couple of different (and less expensive) argon regulators that weren't nearly as accurate as the one from Lampert. Most argon regulators are made in China and have graduated indicators that are too close together and/or have poor adjustment sensitivity, and very poorly made (I returned two regulators before springing for the Lampert model). A regulator that doesn't give accurate readings can lead to poor welds and wasted gas. The PUK regulator is very well made and has more widely-spaced indicators to better indicate exactly how many liters per minute of gas is flowing. Though it's priced at $135, it's a wise investment in German quality. Argon gas, which protects the weld from developing oxides, is the other expense for running the PUK. Without gas, the PUK won't run (and you would never produce a successful weld without it, regardless of your chosen welding apparatus). To reduce the cost of argon, I would advise leasing a 300-cubic-foot cylinder (5' tall x 10" diameter). I'm paying $75.20 (Industrial Welders Supply in Rhode Island) per refill (includes hazmat & state tax) plus $50 for the yearly lease. Argon purity of at least 99.997% is recommended by Lampert. These are the additional specifications on my argon:
Carbon Dioxide: <1ppm I have been running the PUK on 1.5 liters of argon per minute regardless of the alloy I'm working with.
The headrest
The PUK04 headrest allows relaxed and fatigue-free working with the welding microscope. It also helps maintain concentration on the workpiece and eliminates fogging and the deposit of eyelash oils on the microscope lens. Additional electrodes – each set supplied with a diamond grinder and case ($45). See electrode sharpening here.
Additional optional accessories
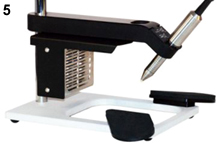
1. Pin module for welding ear studs
Gold Au 750/000 - 18K 500mm x 0,25mm (19,7" x 0,01")
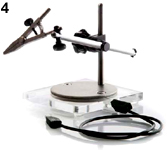
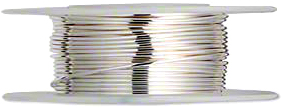
3. Magnifying lens Welding Wire Alloys
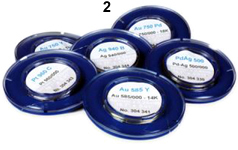
Rio Grande has an excellent selection. Below is a partial list: Definitely purchase a Speedwire Welding Wire Dispenser (not a Lampert product). Welding wire spooled in containers like the ones above make it difficult and time consuming to steady thin wire exactly where you want it (it tends to flop around). The Speedwire Welding Wire Dispenser makes thin wire much easier to weld since it puts it exactly where you want it – without movement. Speedwire allows wire as this as .005" (.127mm) to be dispensed, though, you'll probably be using the more widely available .010" (.25mm) wire. I bought the refillable Speedwire ($23) and coil the sterling wire myself on steel rod in my lathe, then relax the coil by removing the wrapped rod from the lathe and gently annealing it while still attached. Speedwire can also be supplied with pre-installed wire of numerous precious metal alloys. See the Speedwire in use here, and see how the receptical can be filled. For more information and purchasing from the inventor, go here. Speedwire can also be purchased from: Hoover & Strong, Rio Grande, Stuller, among others.
Conclusion Using this relatively new technology has broadened my scope of options when joining metals. I can mend a pinhole with a dollop of sterling, dress it down, and give it a quick polish without disturbing the patina. The end result: absolutely no indication the piece was repaired - the color is perfect! I can repair a bezel surrounding a piece of glass without removing it. Normally I would be forced to unmount the glass, possibly damaging it in the process. I even used the PUK to weld a steel wire to the end of a hardened steel pin that was buried in a candelabra stem. I heated the stem, melting the lead solder, and pulled the pin out. How slick is that? When I say I use the PUK every day I'm working, I'm not exaggerating. It was the most prudent (and expensive) purchase I've ever made for my shop, but it's already paid for itself. Once you own this little gem, it will open a whole new world of possibilities. Oh, another plus: Lampert Tools USA offers up to five hours of free training when you purchase a PUK welder. Simply contact owner and goldsmith Robert Sepiashvili in Chicago to make an appointment. Overall rating
Lampert PUK04: Additional information Lampert's Web site (Germany)
Lampert
Tools USA Technical Support
Lampert Tools USA Suppliers USA
A&A Jewelry Tool (Los
Angeles, CA) Canada
Lacy West Supplies (Vancouver, Canada)
PUK04 Welder Settings (Download
settings here.)
|
||||||||||||||||||||||||||||||||||||||||||||||||||||||||||||||||||||||||||||||||||||||||||||||||||||||||||||||||||||||||||
 PUK04
PUK04