|
|
|
|
|
©
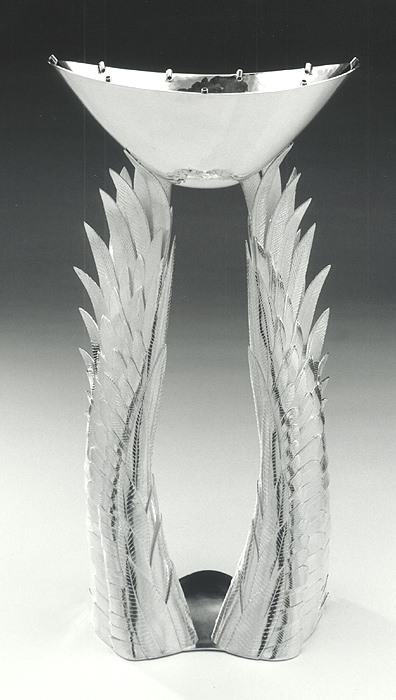
Cynthia Schlemlein: Zoë Hanukkah Lamp
Dimensions are: 13¾"
tall x 7¼" wide x 5½" deep. The large wing structure needed a great deal of heat in order to solder on small individual feathers. The feathers that had already been layered, quickly became hot at the tips, as did the feathers being soldered on. I had to use a glass fiber welding cloth to help protect the feathers from melting near where I was soldering. Two torches had to be used at once: one with a large bushy flame for heating the body of the piece, and an oxyacetylene torch with a small tip for soldering. The base was cut out of 18-gauge sheet, formed and fitted to the base of the wings; then it was soldered to the wings, one at a time. I had to build a platform on which to strap the piece for support, one that would also allow me to get under it with the torch in order to heat from below. I used two torches for this process as well, as described above. After the first wing was soldered on, I had to clean up the solder seam before soldering the second wing. When both were soldered, I cleaned and polished the base. At the same time that the wings were being built, the bowl, which is the oil receptacle at the top of the piece, was raised. I calculated how many hours the oil should burn and how much oil would be needed. This gave me an idea as to how large the bowl should be. After raising and planishing the bowl, I cut and soldered the tubing for the wicks inside the rim. The bowl was polished before soldering it to the feathers, making it much easier to give the pieces a final polish afterwards. Once the wings were soldered to the base, and the bowl was complete, I fitted and soldered the bowl to the top feathers. After cleaning up the solder seams, I silver-plated the wings. Then, I polished the bowl again, which was the last step in an approximately eight-month project. Photo: Douglas Yaple |